It Was Truly Transformative
I will admit, Photoshop can be extremely overwhelming. I know personally I have only begun to discover all the tools it has to offer. You open a window and then there is a drop down menu, with its own drop down menu and then even a tiny little pop up box with its very own feature. Basically, I don’t even know what a fraction of the tools in Photoshop are used for.
But you know what?
That’s ok! We all have to start somewhere and I really love learning. So, I still have A LOT to learn!
Sometime ago I was watching an interview with a photographer (I think it was Brooke Shaden, a very well-known and gifted conceptual artist) and she said she just picked one tool in Photoshop and practiced with it and used it until she knew it inside and out. I thought that was a really great idea.
If you read in my previous post, you may remember I mentioned how amazing Phlearn is. My photography has literally gotten 100% better since I found them and started watching their tutorials. (https://www.youtube.com/user/PhlearnLLC) The important part is that I watched a tutorial about how to change the background color using the selective color range tool, but now I can apply it to so many other thing! For example, with my “Like a Fire” image, I used the Selective color range tool to change the color of the dress. I also could use it in my real estate photography to make the grass look greener (on the other side, as they say!).
So, what I would like to talk about with you today is the very handy, (and much more applicable that I had previously thought) “Transform” tool. You can find this tool by going into the Edit drop down menu and then when you hover over the Transform area, you will see another drop down menu with even more options!

I apologize for this poor image quality. Photoshop would close when I tried to do a normal screenshot of this drop down menu.
When I started doing Real estate photography I was honestly like. “Ha, this will be a cinch! “
However, once I got going I realized that I had a very hard time making my images perfectly level. The result of this is that the rooms end up looking like they are falling in on themselves.
Luckily there is a wonderful tool that we can use to fix it!
That tool is the “distort” tool. By using it I am able to pull out the edges of the picture till it looks straight.

Ok, I know that that’s not very interesting, the point is that once I learned one way to use this tool I was able to start applying it to all sorts of different things!
The picture –Pray for Wings- from my 52 week project is a wonderful example.

First of all, when planning this shoot I knew I wanted a nice set of wings… however, it’s rather hard to find an adequate set of wings at your local Wal-Mart. Most of them are just too small. Either that or very expensive. (I guess wings aren’t something that’s in very high demand in my part of the world.) This led me to decide to make a mini set of wings out of paper! Well, actually to save on time, I only made one wing.

Once my prop was ready it was time to set up the shot.
If you read my last blog, I set this up in a very similar manner. I used a tripod and my phone as a shutter release so I could take the pictures of myself.
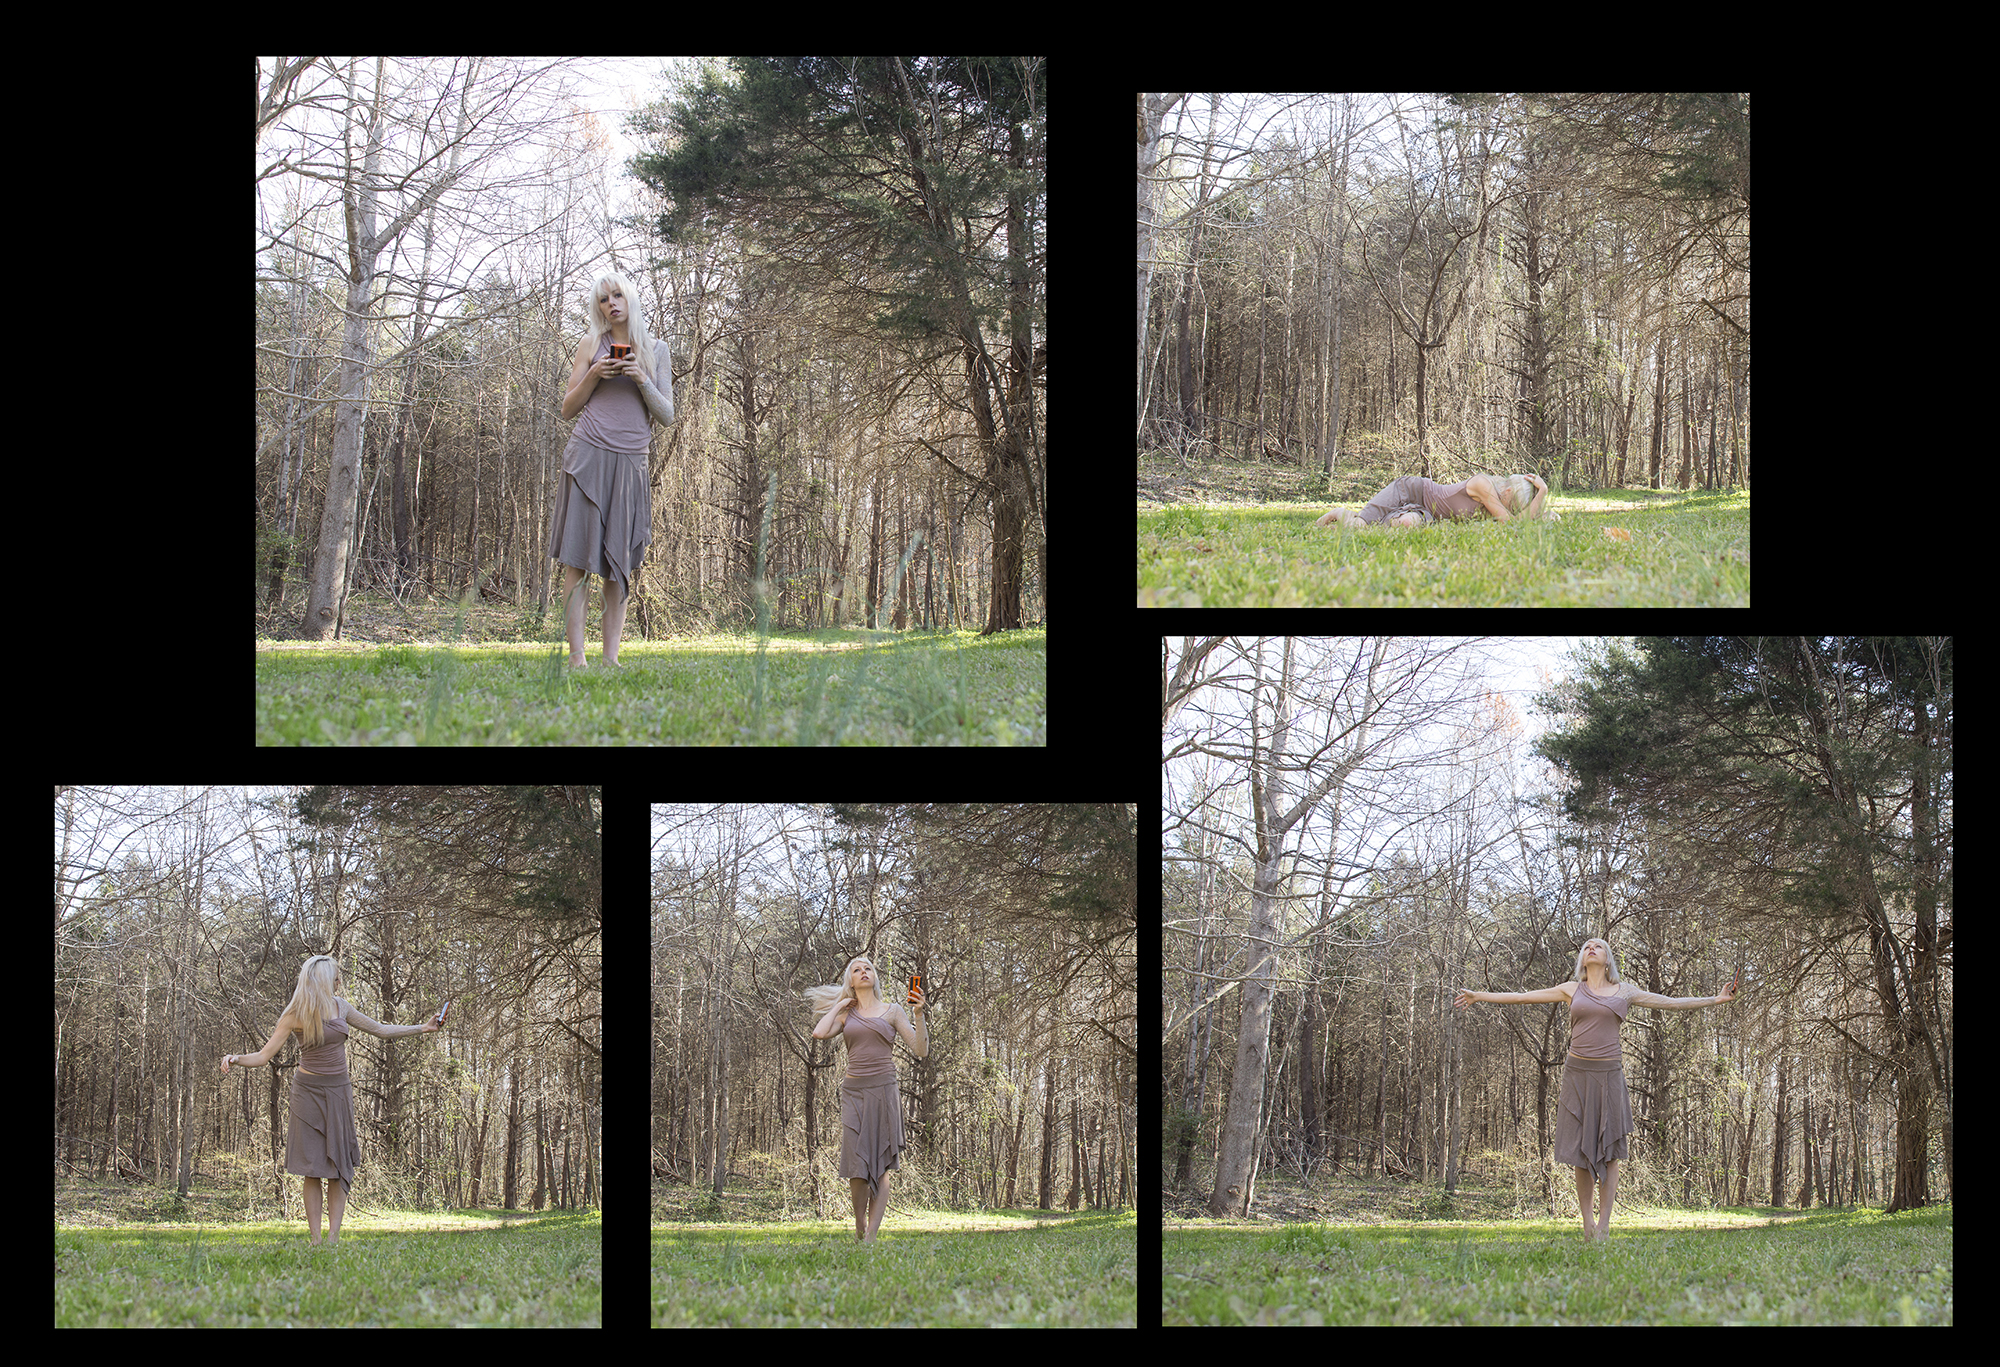
Lucky you! You get to see some more awkward blooper pics! It is surprisingly hard to time a jump right when using a 10 second timer.

If you ever think that modeling is all pretty and glamour... hopefully these pictures will reassure you... it isn't.
Lastly I had to get a picture of the wing on a similar background so it would be easier to add to the final image.

Ok, I’m going to skip ahead a little so I can get to the transformation part as I feel like this blog may be getting a little lengthy and I’m sure you’ve got a busy rest of your day ahead of you.
Basically, I will put all these different images into Photoshop and start putting them together like a puzzle.

Alrighty, now for the wings. This is where the handy dandy, all powerful transform tool comes in. Because I only had one wing, my first step was to> Use the Quick select tool to isolate just the wing from the background> Right click on that selection> Click layer via copy >Duplicate layer, then > Under the transform option, select > Flip horizontally, then > Put both layers into a group and move them over to my main image.

Now I have all my parts and it’s time to combine them.

But something still seemed a bit off, it looked like I was tipped forward (because I didn’t take the picture from a low enough angle, or I didn’t jump high enough… you can choose whichever option you like). To fix that we go back into the transform drop down menu and click on the perspective tool. That allows me to pull the edges back a little which then gives it the proper perspective! Pretty neat ay?
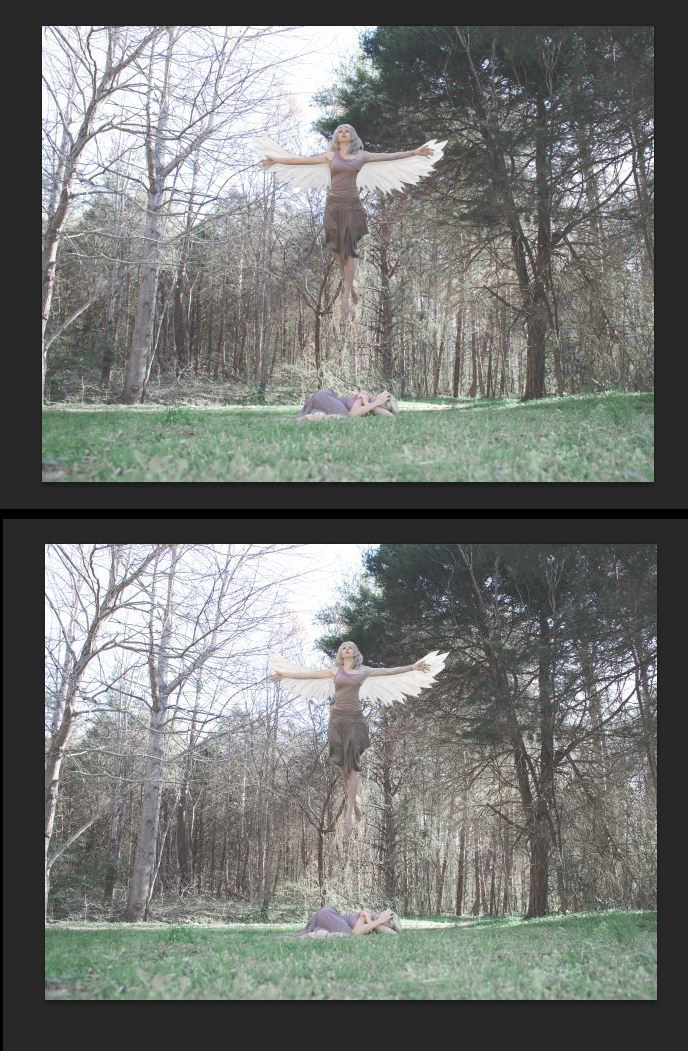
It's a small change, but when you look at the image full size, it really does make a difference.
Finally I run the image through some filters and change up the hue/saturation, apply a few sweet actions (complements of The Great Gatsbyhttps://www.greaterthangatsby.com/photoshop-actions/ ) and voilà! We have a finished image.

Thanks for taking the time to read this, I hope I was able to explain myself well and that you might find it helpful.